Lesson paths

Lessons

Demo preview. The lesson paths, fees, and saved progress on this site are not the school's final offer.

A path is a short sequence of lessons. The lesson marked This week is the first one you have not finished on this browser. Open it to watch the film and check off the practice. Later lessons stay visible. There is no star score to pass.

This preview uses evening slots, India time. Classes are in Hindi and English. Each class is one student and one teacher, live on Zoom.

A wooden keyboard with indigo and marigold cloth

Demo

Keyboard

Beginner notes on a keyboard, one student at a time.

0 of 5 lessons finished on this browser. Next: Find middle C, 11 minutes.

  1. Find middle CThis week

    Open this lesson and its film

    In classSit square to the keys, name the groups of two and three black keys, and put the thumb on middle C.

    Practice before the next class

    • 5 minFind middle C with your eyes closed, then check.
    • 6 minPlay middle C eight times, one note to a count, and lift between notes.
  2. Five note namesLater

    Open this lesson and its film

    In classPlace five fingers on C, D, E, F, and G. Say the name, then play the key. The teacher mixes the order.

    Practice before the next class

    • 6 minTouch each key and say C, D, E, F, G, then come back down.
    • 8 minAsk someone to call a note name. Play only that key.
  3. Steps and skipsLater

    Open this lesson and its film

    In classPlay neighbours (C to D) and call them a step. Play C to E and call it a skip. The teacher plays one. You name it, then play it back.

    Practice before the next class

    • 10 minPlay C–D–E–F–G slowly, then the skip C–E–G. Say step or skip on each pair.
    • 6 minPlay the class recording and name each pair before you copy it.
  4. A steady pulseLater

    Open this lesson and its film

    In classCount 1 2 3 4 out loud. Play one note on each count. Stop when the count rushes or drags, then start the bar again.

    Practice before the next class

    • 8 minCount four beats and play C on each beat, for four bars.
    • 8 minWalk C D E F G, one note per count, then walk back down.
  5. A four-bar tuneLater

    Open this lesson and its film

    In classLearn a four-bar melody on C, D, E, F, and G. Hear it, hum it, then play it with the same pulse as the class.

    Practice before the next class

    • 5 minListen to the class recording and hum the tune.
    • 10 minPlay the tune three times slowly, then once with the recording.
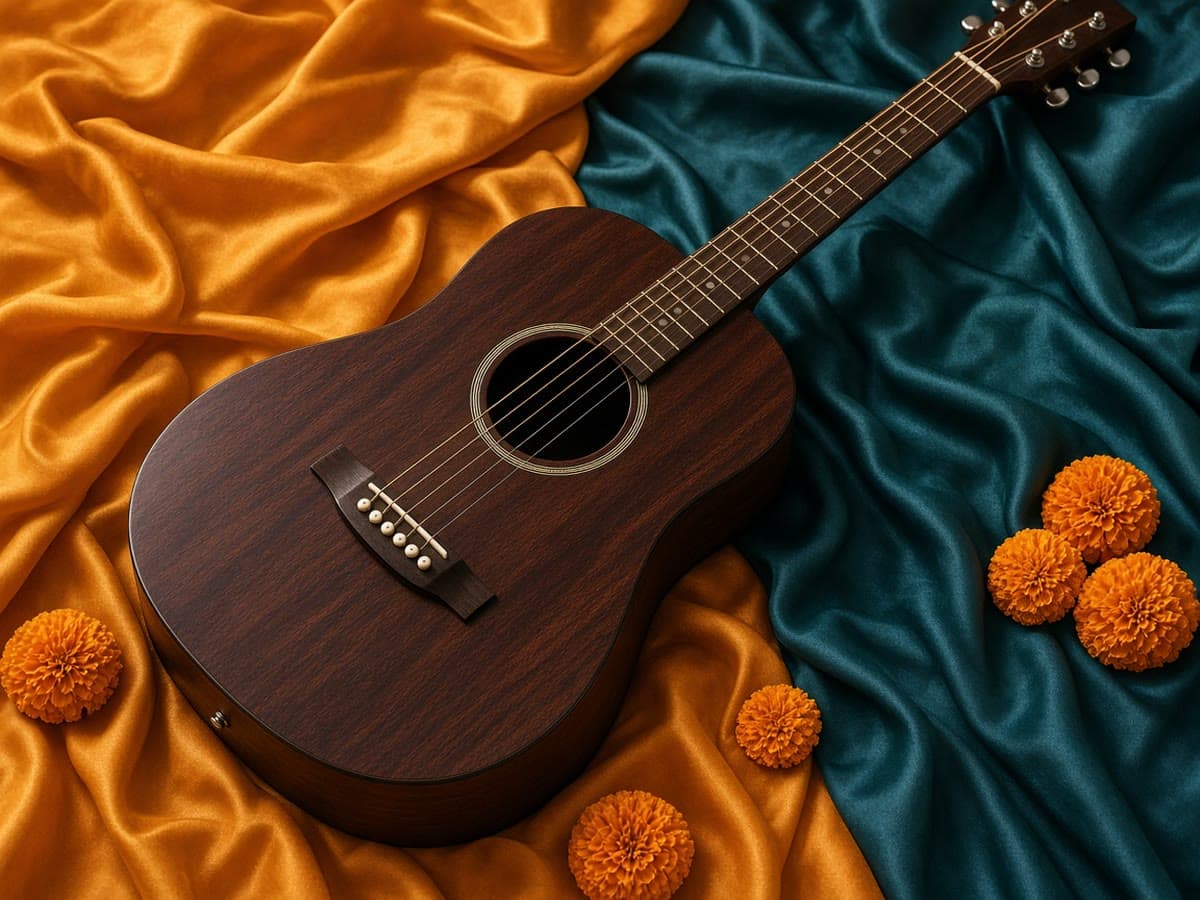
An acoustic guitar on teal and saffron silk

Demo

Guitar

Beginner acoustic guitar, from open strings to a slow chord change.

0 of 5 lessons finished on this browser. Next: Six open strings, 14 minutes.

  1. Six open stringsThis week

    Open this lesson and its film

    In classSettle the guitar on the strumming leg, keep the neck angled up a little, and play each open string. The names from thick to thin are E, A, D, G, B, E.

    Practice before the next class

    • 8 minPlay each open string four times and say its name.
    • 6 minLook away and play the string someone names.
  2. One finger, one fretLater

    Open this lesson and its film

    In classUse the index finger, close to the fret wire, on the high E string. If it buzzes, move closer to the fret and press with the tip, not the pad.

    Practice before the next class

    • 8 minPress and release the first fret on one string, eight slow notes.
    • 6 minSwitch between that fretted note and the open string.
  3. One chord downLater

    Open this lesson and its film

    In classLearn one chord shape the teacher chooses for your hand. Place it, strum only the strings in the chord, and fix any buzz before you add rhythm.

    Practice before the next class

    • 8 minPlace the chord, strum once, lift the hand, and place it again. Repeat six times.
    • 6 minPlay each string in the chord on its own. Stop and fix the one that buzzes.
  4. A slow strumLater

    Open this lesson and its film

    In classStrum down on each count of four. The fretting hand stays put. If the strum rushes, stop at the end of the bar and count the next one out loud.

    Practice before the next class

    • 10 minStrum the chord for one minute, rest, and repeat three times.
    • 5 minCount 1 2 3 4 aloud while you strum. Record one minute and listen back.
  5. Two chords in timeLater

    Open this lesson and its film

    In classChoose the second shape with the teacher. Change on beat 4, so the new chord is already down when beat 1 arrives. Slow is the goal, not a fast song.

    Practice before the next class

    • 10 minPlay four strums on the first chord, four on the second. Repeat for three minutes.
    • 5 minFilm one change on your phone and check that the new chord arrives on time.
A tanpura and a singing bowl with marigolds

Demo

Vocal

Beginner singing: breath, a steady pitch, and one short phrase.

0 of 5 lessons finished on this browser. Next: A steady hum, 11 minutes.

  1. A steady humThis week

    Open this lesson and its film

    In classBreathe low, hum on a pitch that feels easy, and stop before the throat tightens. The teacher helps you pick that pitch. You do not slide up to impress anyone.

    Practice before the next class

    • 6 minHum one comfortable pitch for four breaths, three times.
    • 5 minSlide the hum gently up and down, staying where it feels easy.
  2. Match three notesLater

    Open this lesson and its film

    In classThe teacher sings three notes. You wait, then hum them back. If one note misses, you both repeat only that note before you try the three again.

    Practice before the next class

    • 8 minPlay the class recording and sing the three notes after each example.
    • 5 minPause on the note you miss. Hum only that note five times.
  3. One short phraseLater

    Open this lesson and its film

    In classSpeak the phrase slowly until the words are easy. Then sing it on the tune from class. The teacher picks a phrase with a small range.

    Practice before the next class

    • 5 minSpeak the phrase slowly, then sing it once with the recording.
    • 8 minSing the phrase four times, resting a breath between each one.
  4. The phrase on a beatLater

    Open this lesson and its film

    In classCount a bar of four before you sing. The first word lands on beat 1. If you rush the end of the phrase, speak it in time, then sing it again.

    Practice before the next class

    • 6 minSpeak the phrase on the beats, then sing it the same way.
    • 6 minRecord two tries and keep the one that does not rush.
  5. One short verseLater

    Open this lesson and its film

    In classSing phrase one, breathe, sing phrase two. Use the class recording as the guide. The goal is the whole verse once, in tune enough that you can hear the shape.

    Practice before the next class

    • 8 minSing each phrase alone, then both with one breath between them.
    • 8 minSing the verse with the class recording, then once alone.
An Indian harmonium with the bellows open

Demo

Harmonium

Beginner harmonium: bellows, Sa Re Ga, and a short line.

0 of 5 lessons finished on this browser. Next: Air in the bellows, 11 minutes.

  1. Air in the bellowsThis week

    Open this lesson and its film

    In classCover the bellows stop, pull the air in, and hold Sa. The note should not gasp when you change direction. The teacher sets how hard to pull.

    Practice before the next class

    • 6 minHold Sa while the bellows open and close, four times.
    • 5 minListen for a gap. If you hear one, slow the turnaround.
  2. Sa Re GaLater

    Open this lesson and its film

    In classThe teacher chooses your Sa. You play Sa Re Ga and back to Sa, one note at a time, singing the name. The bellows keep moving underneath.

    Practice before the next class

    • 8 minPlay and sing Sa Re Ga, then Ga Re Sa. Repeat slowly for five minutes.
    • 5 minSomeone calls Sa, Re, or Ga. Play and sing only that note.
  3. A straight alankarLater

    Open this lesson and its film

    In classAdd Ma. Count a slow beat on each note. The line is Sa Re Ga Ma Ga Re Sa. Stop if a note name and the key disagree.

    Practice before the next class

    • 8 minPlay the alankar four times, one note per count.
    • 6 minSing it once without the harmonium, then play what you sang.
  4. Steady air under a lineLater

    Open this lesson and its film

    In classPlay the alankar and listen only to the air. The volume should stay the same on Sa and on Ma. If Ma is louder, the hand on the bellows is speeding up.

    Practice before the next class

    • 8 minRecord the alankar and mark any note that jumps in volume.
    • 6 minPlay only the marked spot, four times, at one volume.
  5. A four-note lineLater

    Open this lesson and its film

    In classThe teacher gives a four-note line inside Sa Re Ga Ma. Sing the names, then play them, then sing and play together.

    Practice before the next class

    • 5 minSing the four notes on the recording, then alone.
    • 10 minPlay the line three times slowly, then once with the recording.

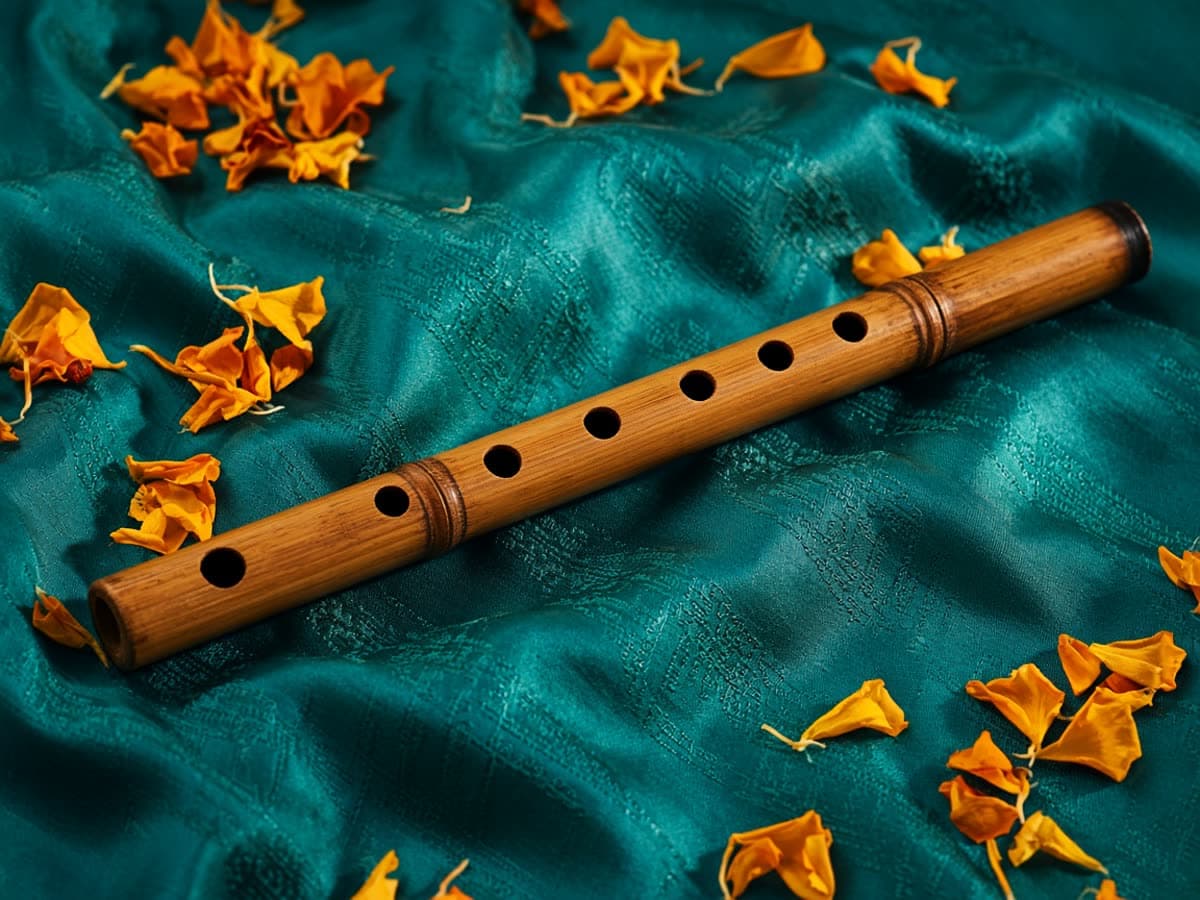
A bamboo bansuri on teal silk

Demo

Bansuri

Beginner bansuri: the hold, one steady note, then Sa Re Ga.

0 of 4 lessons finished on this browser. Next: The hold, 8 minutes.

  1. The holdThis week

    Open this lesson and its film

    In classThe blow hole faces you. The flute stays close to level. Fingers rest on the holes, pads not tips, and the arms stay loose.

    Practice before the next class

    • 4 minRaise the bansuri and hold the shape for four breaths. Rest. Repeat three times.
    • 4 minLook in a mirror or a phone camera. The flute should sit close to level.
  2. One steady noteLater

    Open this lesson and its film

    In classA small stream of air across the blow hole, not into it. Hold the sound for one breath. If it splits, use less air, not more.

    Practice before the next class

    • 6 minPlay one open note for four breaths, resting between each.
    • 4 minRecord two tries. Keep the one that does not wobble.
  3. Cover a holeLater

    Open this lesson and its film

    In classPress the pad of one finger over the hole the teacher names. The note should step down, not hiss. A hiss means the hole is partly open.

    Practice before the next class

    • 6 minCover and uncover one hole, eight slow notes.
    • 4 minIf you hear a hiss, look at that finger and cover the hole again.
  4. Sa Re GaLater

    Open this lesson and its film

    In classThe teacher marks Sa on your bansuri. Play Sa Re Ga and back to Sa, one breath for the line if you can, or one breath per note.

    Practice before the next class

    • 8 minPlay and sing Sa Re Ga, then Ga Re Sa. Five slow times.
    • 5 minSomeone calls Sa, Re, or Ga. Play only that note.
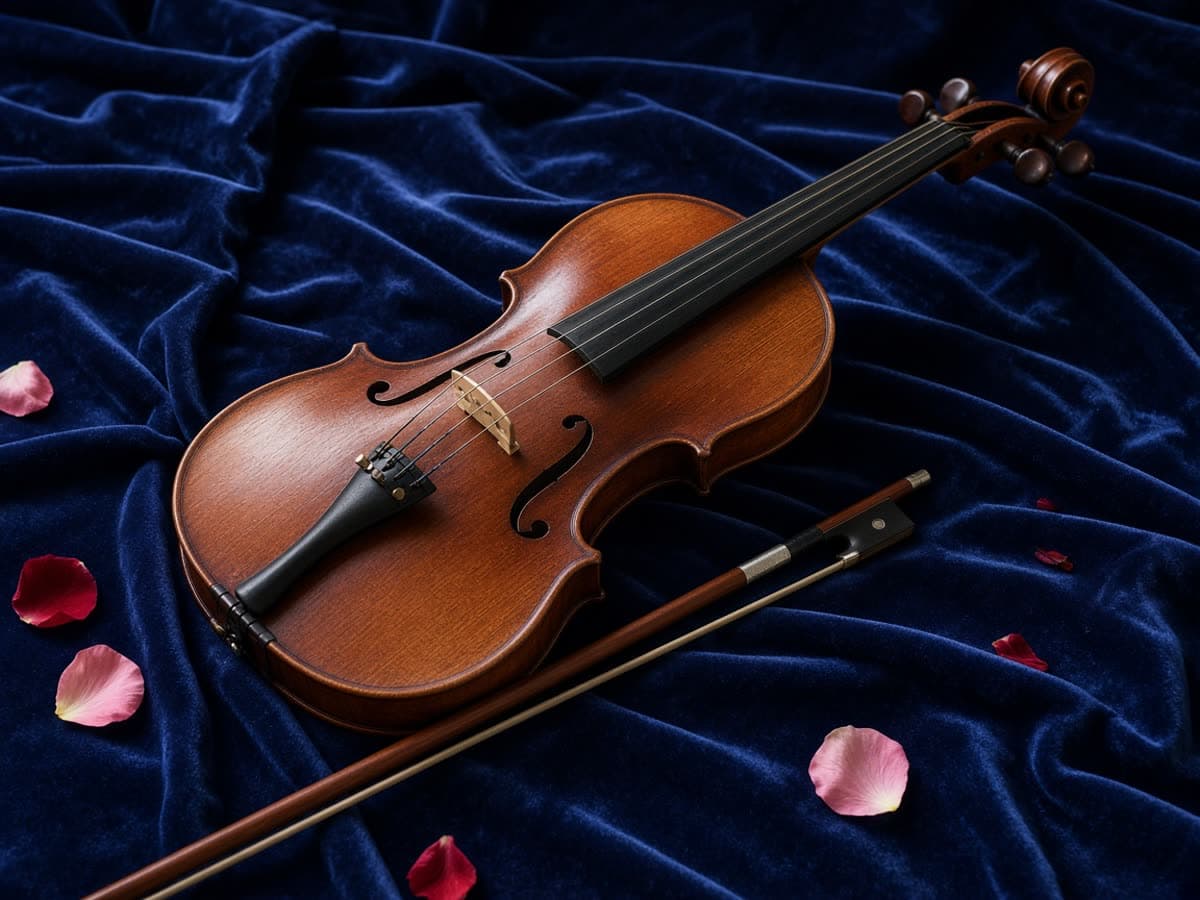
A violin and bow on indigo velvet

Demo

Violin

Beginner violin: hold, open strings, and a first finger.

0 of 4 lessons finished on this browser. Next: The hold, 9 minutes.

  1. The holdThis week

    Open this lesson and its film

    In classSet the violin on the collarbone, turn the head to hold it, and let the left thumb rest lightly. The teacher watches the wrist. You do not press the strings yet.

    Practice before the next class

    • 5 minRaise the violin and hold the shape for four breaths. Rest. Repeat three times.
    • 4 minLook in a mirror or a phone camera. The scroll should not point at the floor.
  2. Four open stringsLater

    Open this lesson and its film

    In classPluck with the right thumb, one string at a time. The names from thick to thin are G, D, A, E. The bow stays in the case for this lesson.

    Practice before the next class

    • 6 minPluck G D A E and say each name. Repeat five times.
    • 5 minSomeone calls a string. Pluck only that one.
  3. One bow strokeLater

    Open this lesson and its film

    In classRosining, then a slow down-bow on the A string. The bow stays between the bridge and the fingerboard, on one string. A scratch means less weight, not more speed.

    Practice before the next class

    • 8 minPlay four slow bows on A. Rest. Do the same on D.
    • 5 minRecord two bows. Keep the quieter, straighter one as the model.
  4. First fingerLater

    Open this lesson and its film

    In classOn the A string, place the first finger for B. Listen against the open string the teacher uses as a check. Slide in small amounts. Do not press the thumb harder when the note is flat.

    Practice before the next class

    • 8 minPlace the first finger, bow once, lift, and place it again. Eight times.
    • 6 minCheck the note against the teacher's reference on the recording before each set.
A ukulele on coral and teal cloth

Demo

Ukulele

Beginner ukulele: four strings, one chord, then a second.

0 of 4 lessons finished on this browser. Next: Four open strings, 11 minutes.

  1. Four open stringsThis week

    Open this lesson and its film

    In classCradle the body, keep the neck up, and pluck each open string. From the string closest to the ceiling to the one closest to the floor, the names are G, C, E, A.

    Practice before the next class

    • 6 minPluck each open string and say its name. Five times.
    • 5 minLook away. Pluck the string someone names.
  2. The C chordLater

    Open this lesson and its film

    In classThird finger, third fret, bottom string. Strum all four. If one string is muted, arch the finger and try again. This is the only shape in the lesson.

    Practice before the next class

    • 8 minPlace C, strum once, lift, and place it again. Repeat for three minutes.
    • 4 minPluck each string of the chord. Fix the quiet one.
  3. A down strumLater

    Open this lesson and its film

    In classCount 1 2 3 4. Strum down on each number. The fretting finger does not lift between strums. Rest at the end of eight counts.

    Practice before the next class

    • 8 minStrum eight counts, rest for four, and repeat five times.
    • 4 minRecord one set and check that the strums do not speed up.
  4. A second chordLater

    Open this lesson and its film

    In classThe teacher picks the second shape, often F or A minor, based on your hand. Change during beat 4 so the new chord is down on the next 1.

    Practice before the next class

    • 10 minFour strums on C, four on the second chord. Three minutes.
    • 5 minIf the change is late, use eight strums on each chord instead of four.
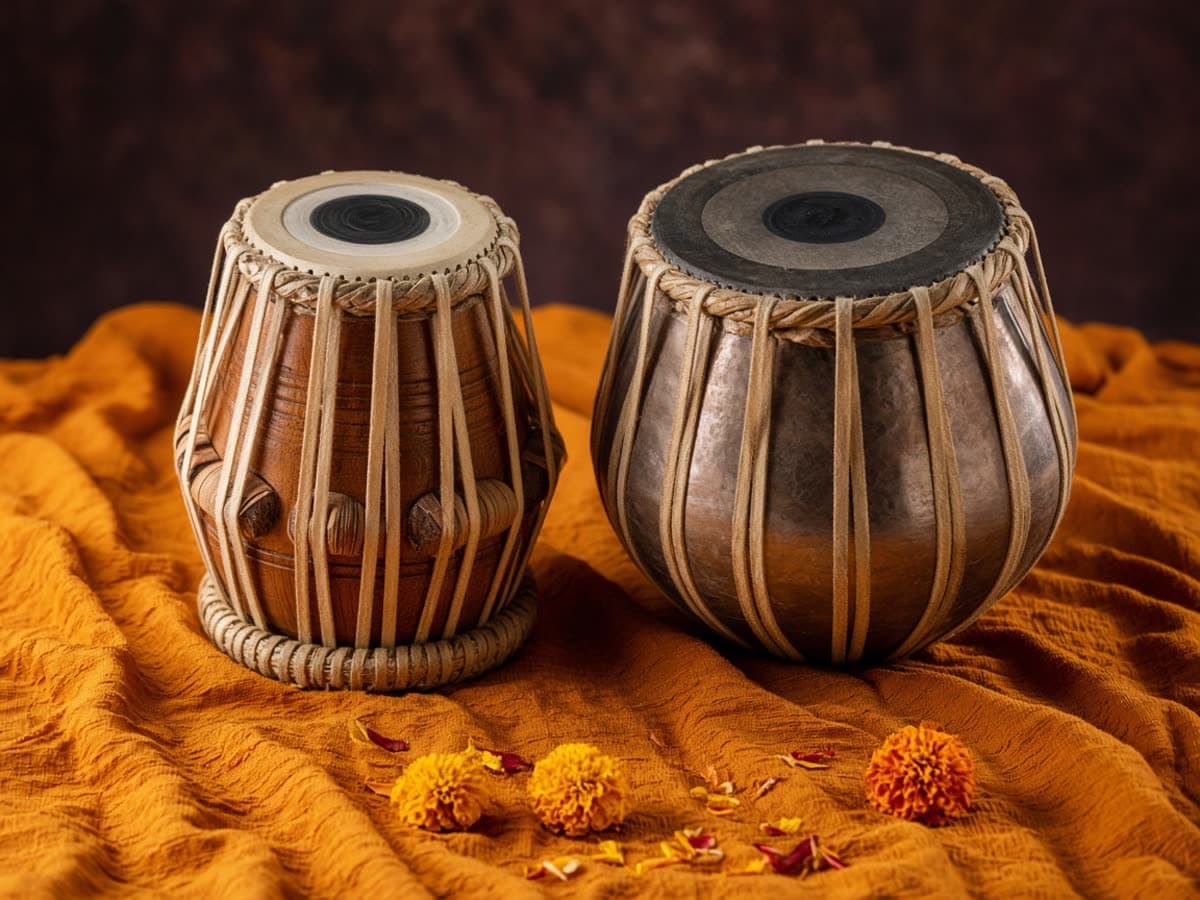
A pair of tabla on saffron cloth

Demo

Tabla

Beginner tabla: two drums, a bass stroke, a treble stroke, and a slow pulse.

0 of 4 lessons finished on this browser. Next: Two drums, 8 minutes.

  1. Two drumsThis week

    Open this lesson and its film

    In classThe larger bass drum sits by the dominant hand's opposite side, as the teacher sets for you. Rest the hands. Name which drum is bass and which is treble before you strike either one.

    Practice before the next class

    • 4 minSet the drums, then stand up and set them again the same way.
    • 4 minPoint to each drum and say bass or treble. Five times.
  2. Two strokesLater

    Open this lesson and its film

    In classThe teacher shows one bass stroke and one treble stroke. You copy the hand shape, then the sound. A thud and a tap should be easy to tell apart on a recording.

    Practice before the next class

    • 6 minPlay the bass stroke eight times, with a rest between each one.
    • 6 minPlay the treble stroke eight times, then alternate one and one.
  3. Say it, then play itLater

    Open this lesson and its film

    In classSay the syllable for each stroke out loud. The hand follows the voice. If the hand rushes ahead of the word, stop and speak a whole bar before you play again.

    Practice before the next class

    • 5 minSpeak the two bols in order for one minute. Do not play.
    • 8 minSpeak and play together, slowly, for three minutes.
  4. A slow pulseLater

    Open this lesson and its film

    In classCount 1 2 3 4. Bass on 1 and 3, treble on 2 and 4, or the pattern the teacher set. The count stays slower than feels impressive.

    Practice before the next class

    • 8 minPlay the alternating pattern for one minute. Rest. Repeat twice.
    • 5 minRecord one minute and tap along. Mark the stroke that drifted.